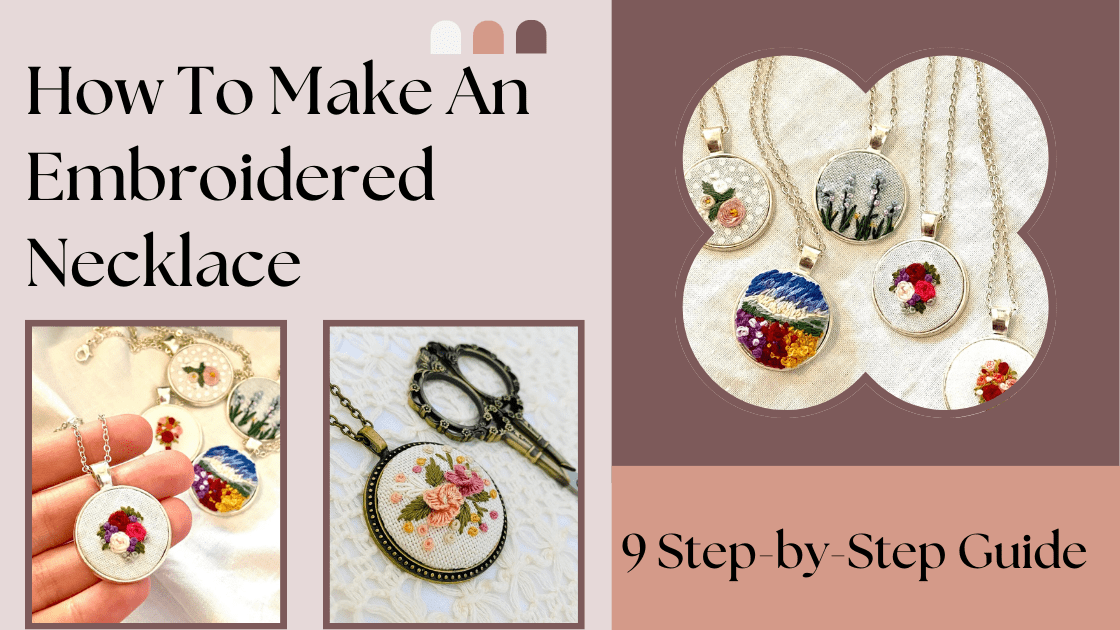
Crafting Your Own Embroidered Necklace: A Step-by-Step Guide
Embroidered Necklace offers a delightful fusion of creativity and elegance, allowing you to add a personal touch to your accessories collection. In this comprehensive guide, we’ll take you through the rewarding process of crafting your very own embroidered necklace. With a few basic materials and some creativity, you’ll soon be wearing a unique piece of wearable art that reflects your style and personality.
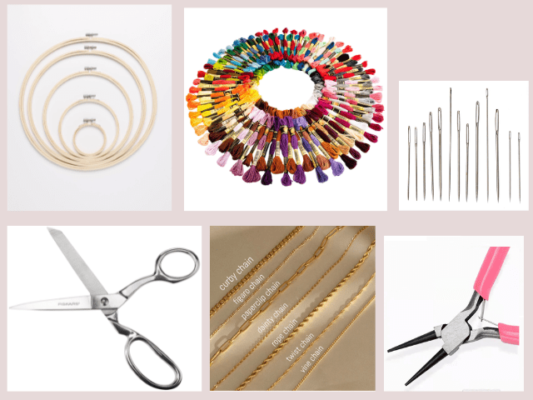
Step 1: Gather Your Material
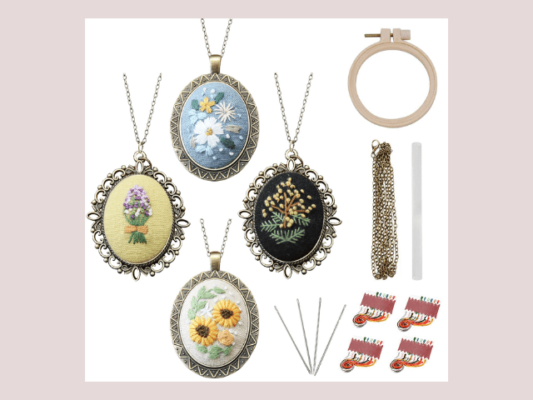
Before diving into the creative process, gather the following materials:
- A piece of fabric or felt for the base
- Embroidery hoop
- Embroidery floss in various colors
- Embroidery needles
- Scissors
- Necklace chain or cord
- Needle-nose pliers (if using a chain)
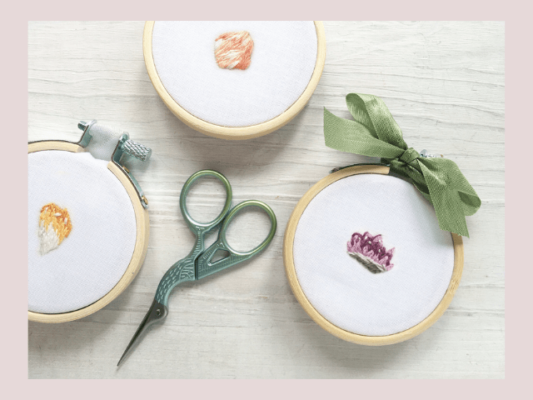
Step 2: Prepare Your Workspace
Create a clean and well-lit workspace where you can comfortably lay out your materials. Place your fabric or felt on the embroidery hoop, ensuring it’s taut and secure.
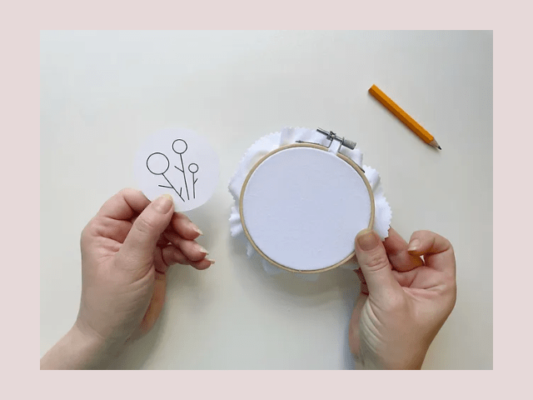
Step 3: Design Your Pattern
Sketch out your desired design onto the fabric using a water-soluble fabric pen or chalk. Whether it’s a simple geometric pattern or an intricate floral motif, let your creativity guide you.
Step 4: Thread Your Needle
Select your embroidery floss colors and thread your needle. Consider using multiple strands of floss for a thicker, more textured look.
Step 5: Start Embroidering
Begin stitching your design onto the fabric, following the sketched pattern. Experiment with different embroidery stitches such as the backstitch, satin stitch, or French knot to add depth and detail to your necklace.
Step 6: Add Embellishments (Optional)
Enhance your design by incorporating embellishments like beads, sequins, or small gems. Sew them onto the fabric using your embroidery needle and thread, allowing your creativity to shine.
Step 7: Finish the Edges
Once you’ve completed your embroidery, carefully trim any excess fabric around the edges of your design. To prevent fraying, you can apply a thin layer of fabric glue along the edges.
Step 8: Attach the Necklace Chain
Using needle-nose pliers, attach the necklace chain or cord to the top corners of your embroidered piece. Ensure that it’s securely fastened before wearing.
Step 9: Final Touches
Inspect your necklace for any loose threads or imperfections, making any necessary adjustments. Once satisfied, proudly wear your handmade embroidered necklace and showcase your creative prowess to the world.
Conclusion
Crafting your own embroidered necklace is a gratifying journey that allows you to infuse your style into a wearable work of art. With this step-by-step guide and a sprinkle of imagination, you can create a stunning piece of jewelry that is as unique as you are. Embrace the joy of handmade craftsmanship and adorn yourself with a necklace that tells your story.
Unlock your creativity and embark on this delightful DIY adventure today!
Related Posts
- 20 Free Commercial Fonts for Your Design
- Top 20 Outdoor Fonts for Nature Enthusiasts
- Join the excitement of Read Across America Week 2024